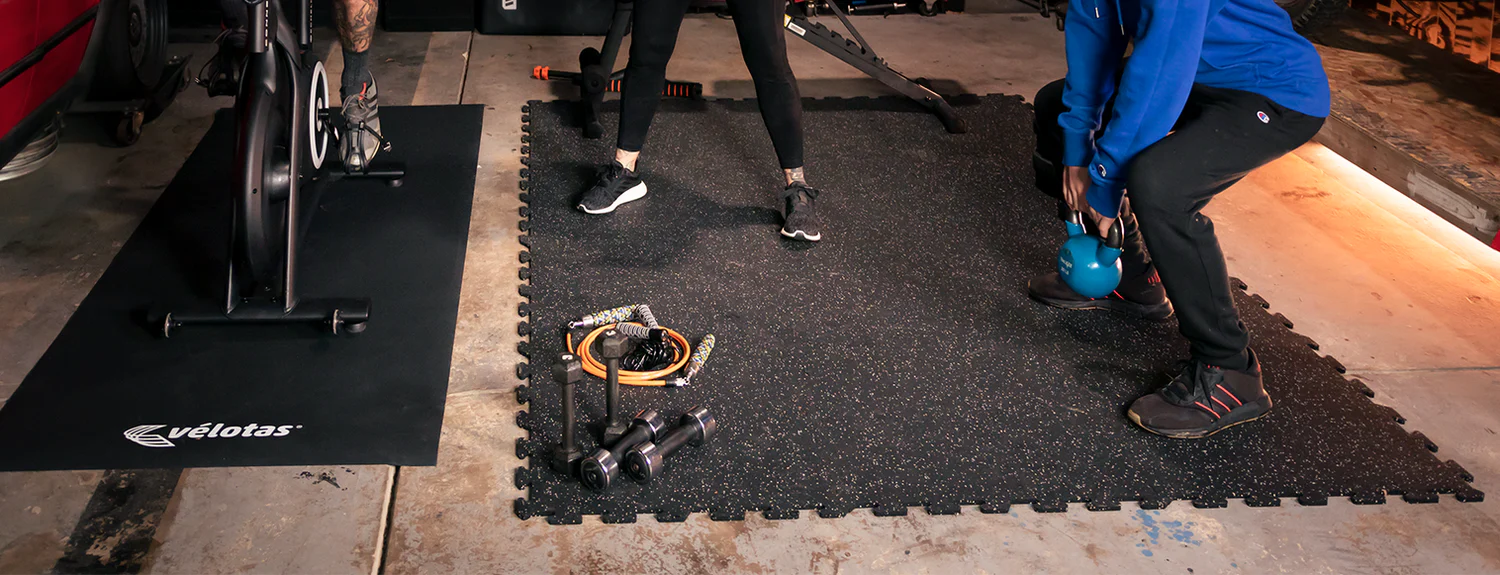
Commercial Grade Interlocking Tile InstallationUpdated a year ago
What is the best way to install my Commercial Grade Rubber Interlocking Tiles?

Installation can be easy for Commercial Grade interlocking Tiles with the right tools. Follow these tips for successful installation of your tiles.
Tools & Use
- Cleaner - Ensure the installation area is clean and free of any debris. Having a clean floor will help prevent an unevenness among the tiles during and after installation.
- Straight Edge -To aid in making straight and precise cuts with your utility knife it is best to use a straight edge.
- Utility Knife - To ensure your cuts look smooth and seamless you will need a sharp utility knife. This will help your installation go easier and look professional.
- Rubber Mallet - To easily help the mats lock into place, you can use a rubber mallet to help secure the mats together.
- Adhesive or Double-Sided Carpet Tape - You can use adhesive to help secure the mats onto your sub-floor.
- Furniture Pads - To protect the flooring from indentation marks from heavy equipment or furniture, you can use furniture pads.
Installation
1. Prep your sub-floor by ensuring its clean of any debris and dry from any cleaning solutions you used prior to installation.
2. Place double sided carpet tape on bottom of your tiles prior to application.
3. Begin at the corner of the room with the corner tiles. (Note: If you have only center tiles, you will need to use the straight edge and utility knife to make a clean cut to place against the wall and corner).
4.Place double sided carpet tape or adhesive on bottom of your tiles prior to application.
5. Add border tiles along the outward adjacent walls. Then add your center tiles, and any additional border and corner pieces as needed. Interlock the tiles together as you go by applying pressure with the rubber mallet.

Please contact us with any additional questions regarding tools and installation. We can be reached via email at [email protected] or via phone at 888-737-6287.